1.Cut two pieces of cardboard that are the same size.

2.Cut three pieces that are slightly smaller than the pieces cut in step 1.

3.Glue the two larger pieces together from step 1.
4.Glue the 3 smaller pieces together from step 2.

5.Now glue the three smaller pieces to the back of the two larger pieces from step three. This will create a little handle to make stamping easier.

6.Use rubber bands and secure the glued stack of cardboard pieces and let dry.

7.Once the glue is dried remove the rubber bands.
8.Use a marker and draw your design on the front of the stamper with the larger pieces. You may want to work out your design in advance on a piece of paper.

9.Coat the front of the stamper with white, non-toxic, school glue going over the design which should still be visible from under the glue.


10.Place string or rubber bands over your design and let dry.


11.Once all the glue is dry, use a brush to paint the front of your stamper then firmly and evenly press onto paper.
Create custom wrapping paper, cards, and more with just cardboard, string (or rubber bands), and glue.
Here’s an example using a small blue rubber band and a cut up flat white rubber band.

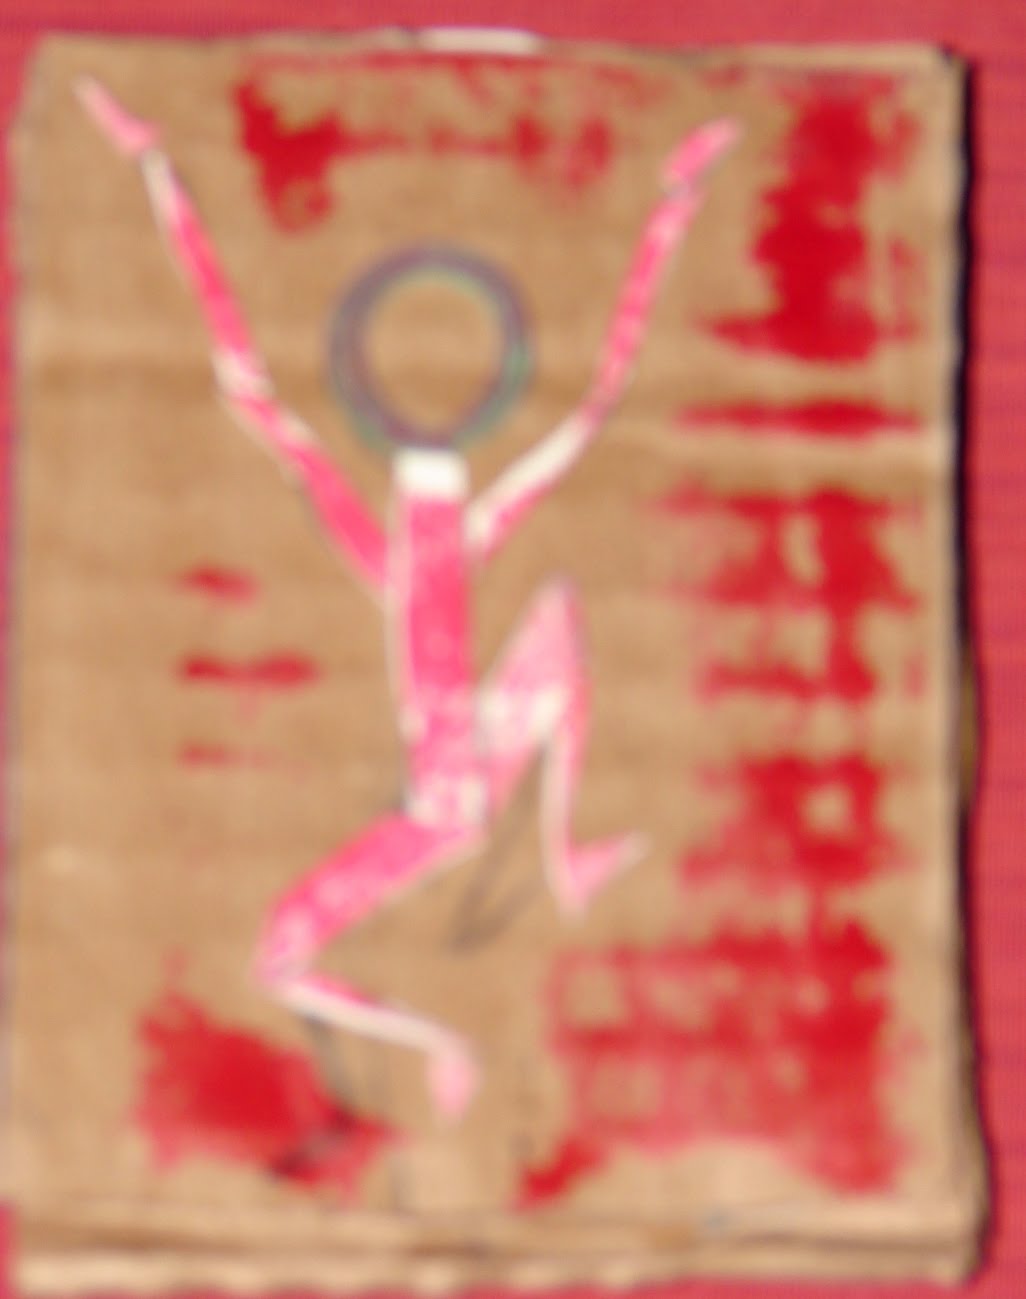
An example of a used string stamper.
Here are easy to print instructions.
No comments:
Post a Comment